m8plus
This guide is for patching the m8plus BIOS.
Say goodbye to the hassle of software patching! With Project Stellar, enjoy a seamless installation experience where software patching becomes a thing of the past.
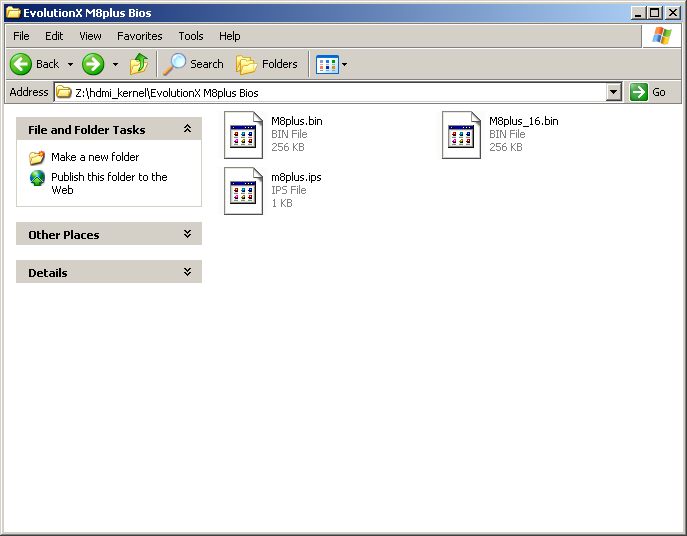
Start by placing the IPS patch inside of an empty folder with the M8plus BIOS. (The BIOS release pictured below also included a separate BIOS for 1.0-1.5 and another for 1.6)
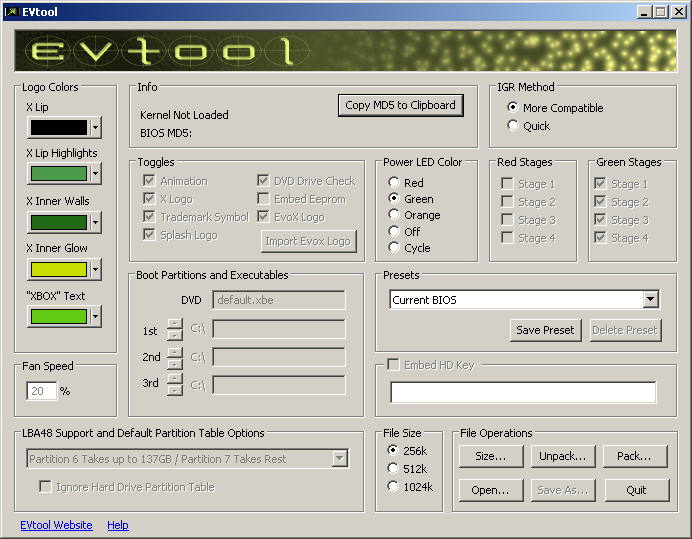
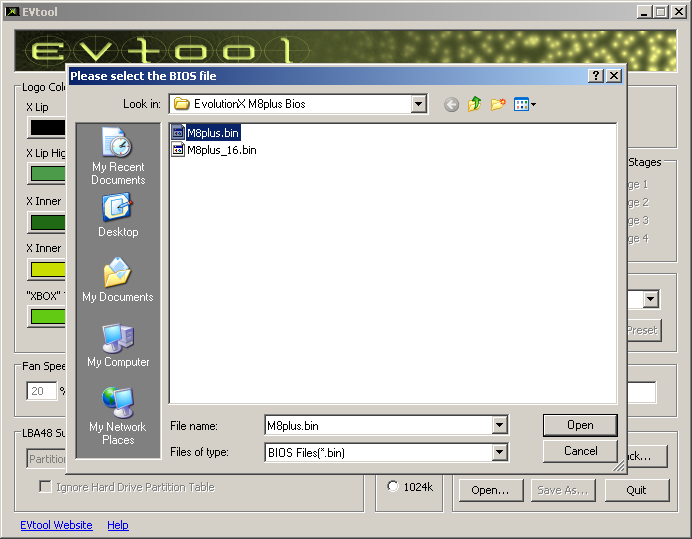
Open EVtool and click ‘Unpack’, then choose your BIOS for the system you’re patching. (M8plus.bin for 1.0 - 1.5 systems and M8plus_16.bin for 1.6 systems)
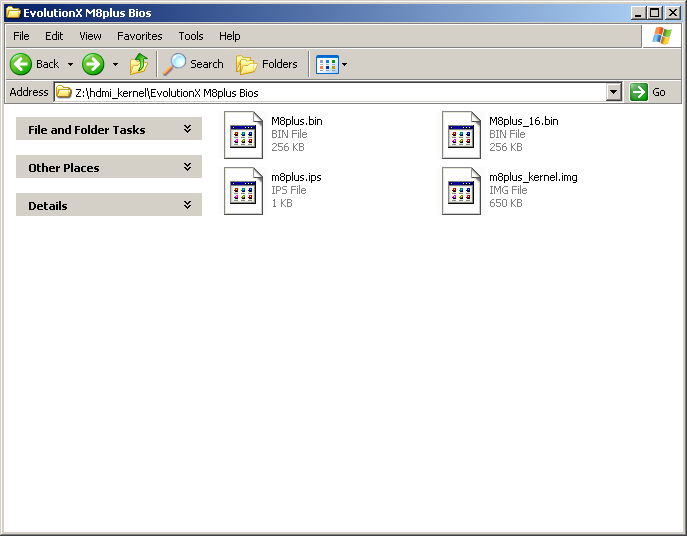
At this point, you should have an m8plus_kernel.img file in the same folder has the BIOS.
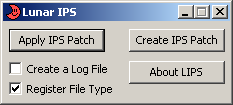
Now open up Lunar IPS and click ‘Apply Patch’
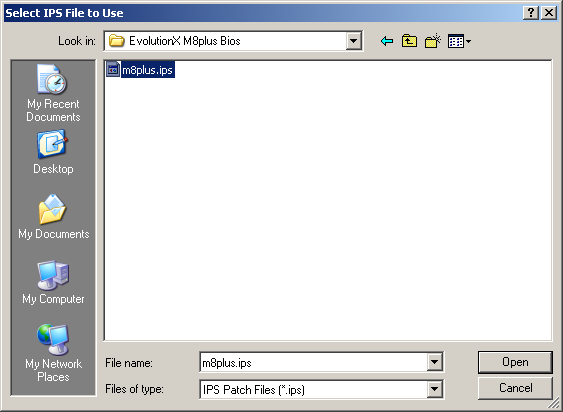
Choose the m8plus.ips patch file.
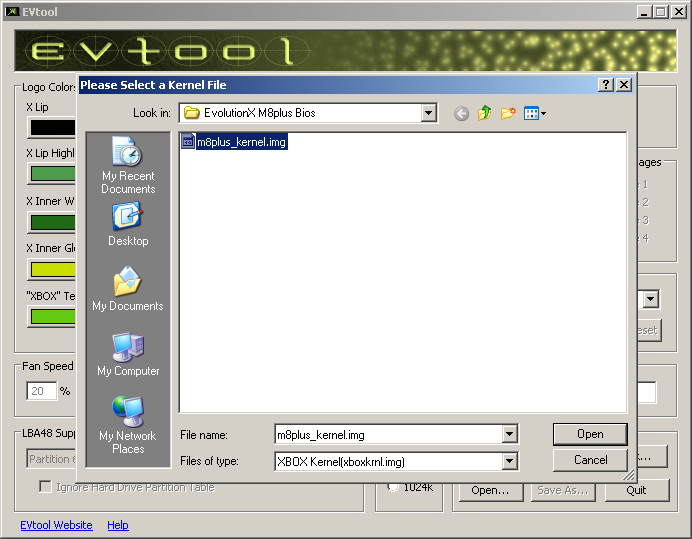
Set 'Files of type:' from 'Most Common ROM Files' to 'All Files' and choose the m8plus_kernel.img


Now open back up EVtool and click 'Pack'. Choose the m8plus_kernel.img
Select the correct BIOS as the Base ROM. (M8plus.bin for 1.0 - 1.5 systems and M8plus_16.bin for 1.6 systems)

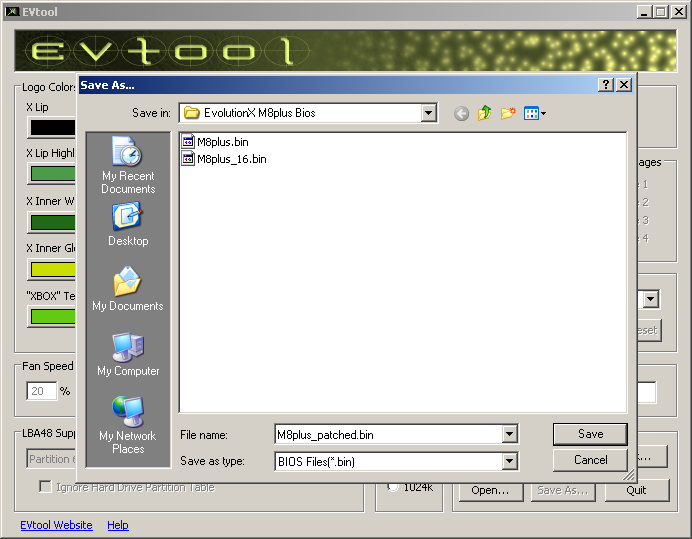
For the 'Save As' give the new BIOS a unique name, such as M8plus_patched.bin, and click save.
Your BIOS is now patched! Flash the BIOS to your modchip of choice and verify by launching the XboxHD+ app.
Flashing the modified HDMI BIOS to the console's TSOP is not supported. You have been warned!