XboxHDMI Software
This guide is for the installation of the XboxHDMI software and kernel patch.
Say goodbye to the hassle of software patching! With Project Stellar, enjoy a seamless installation experience where software patching becomes a thing of the past.
Checklist
- OpenXenium installed.
- Tested and verified that OpenXenium is accessible via network. (Both HTTP and FTP)
- System is fully working.
Hard Drive Preparation
Step 1
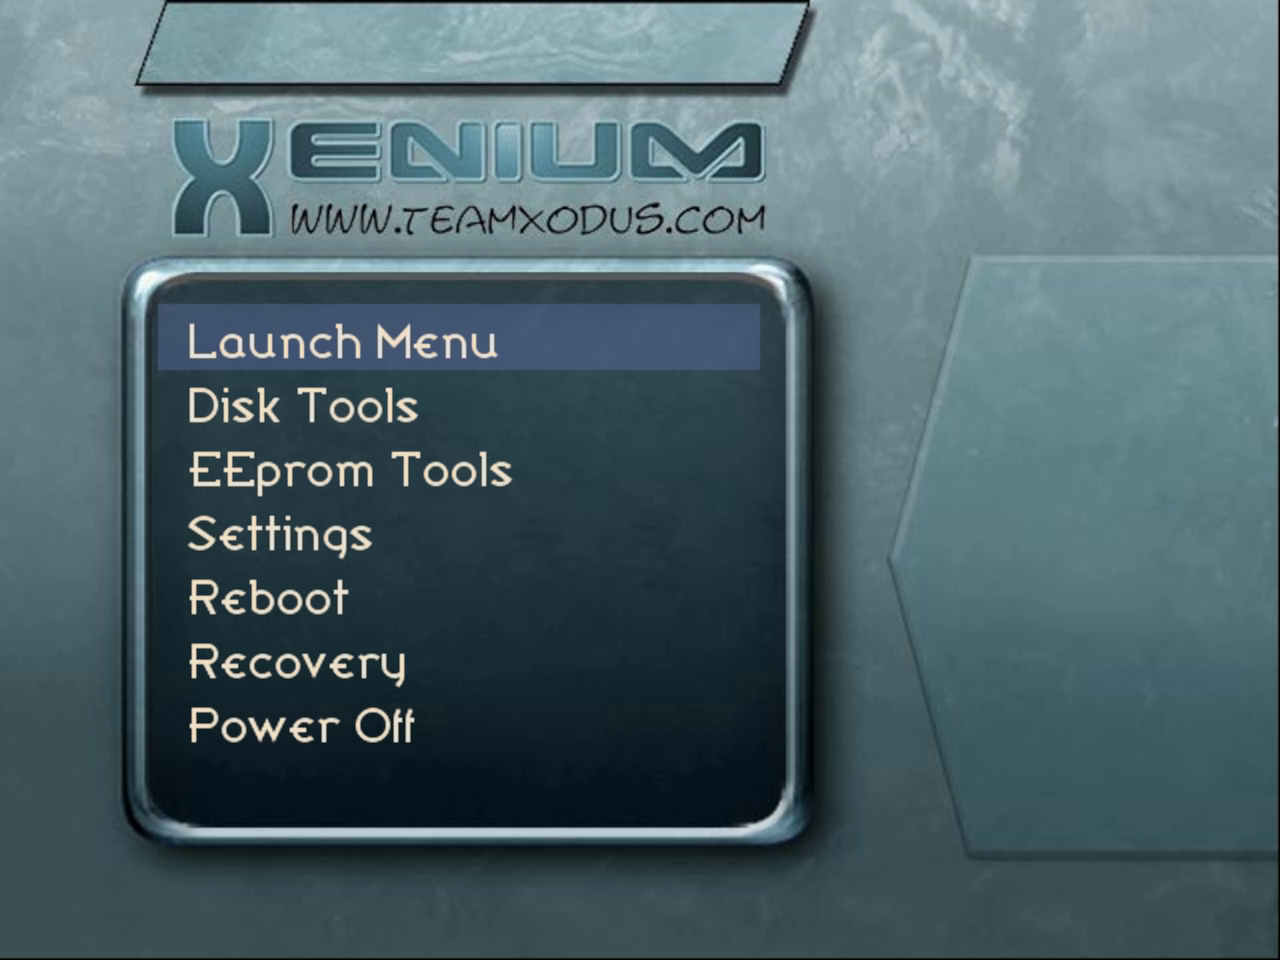
Boot console to XeniumOS via the eject button.
Step 2
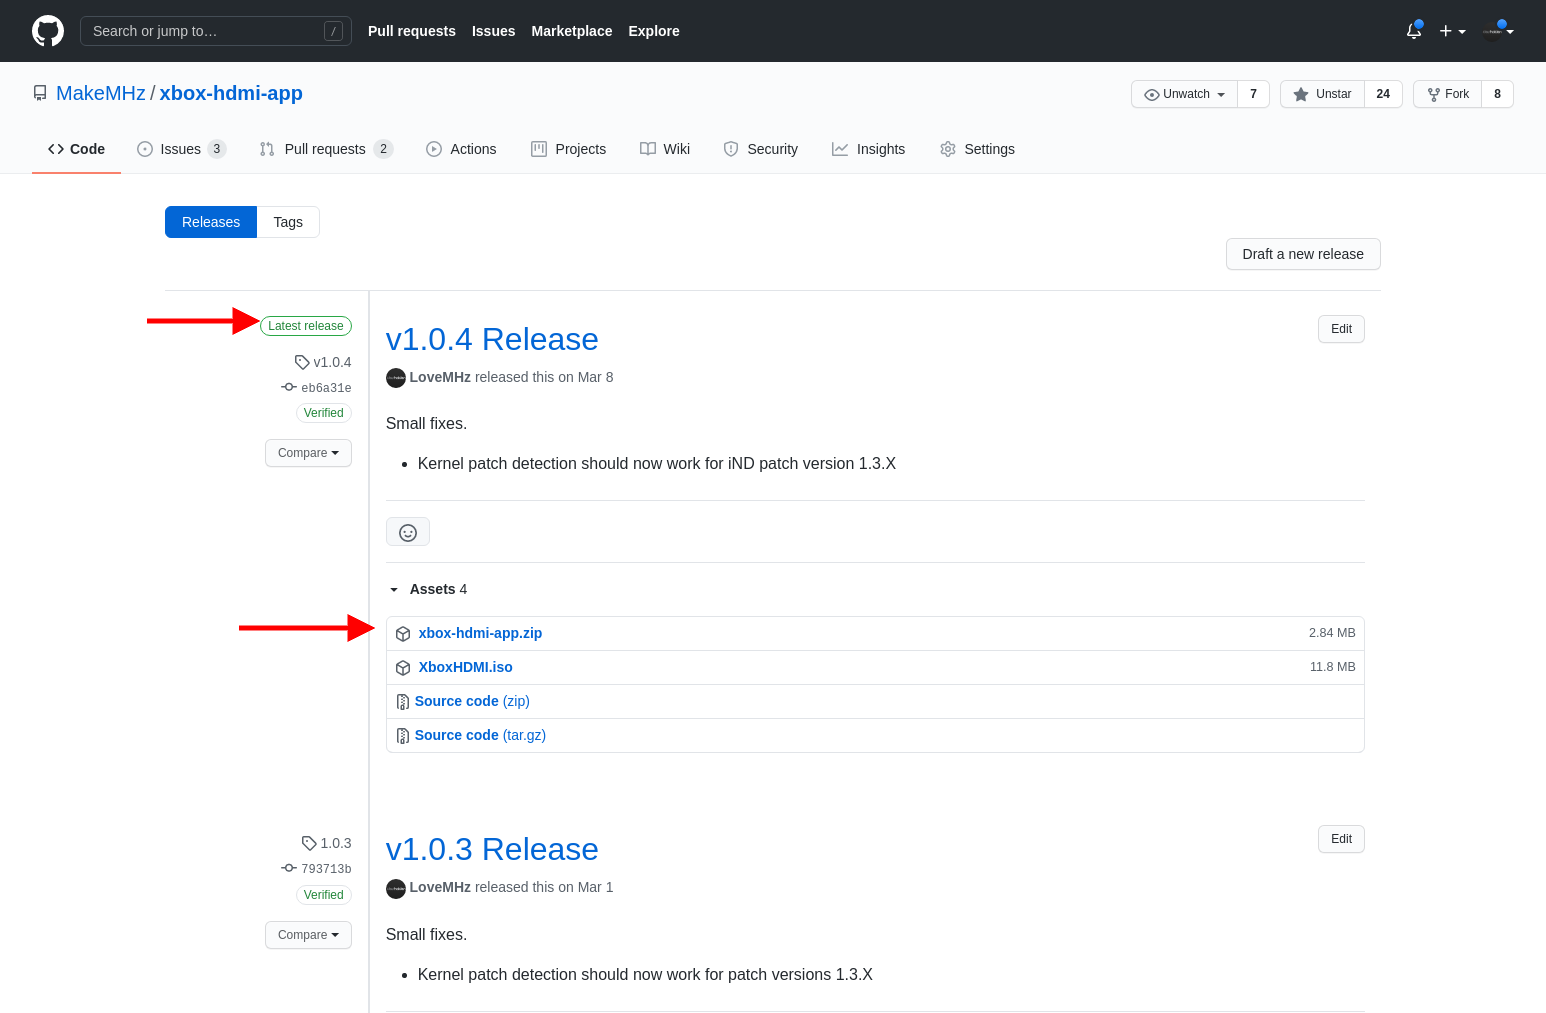
Download the latest XboxHDMI app release.
Step 3
Extract the files and FTP over the contents. (Location isn't important, but most people tend to place it inside E:\apps)
Step 4
Leave Xbox on and continue to the next section.
Patching BIOS
Step 1
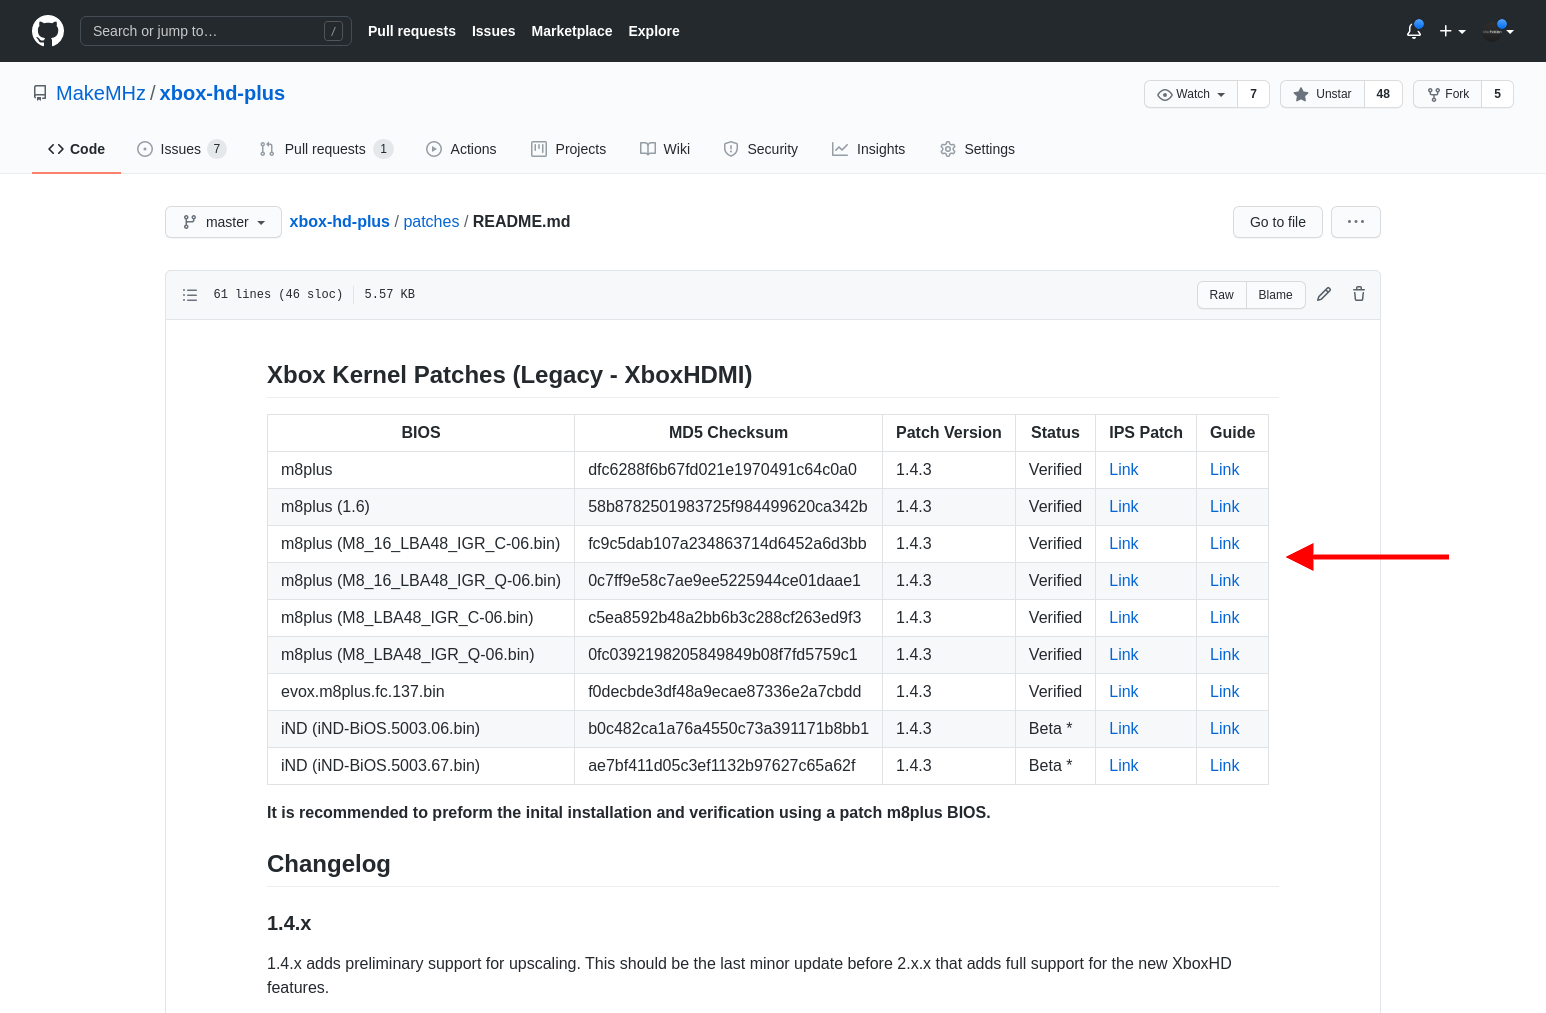
Download the latest 'Legacy - XboxHDMI' IPS file for your BIOS of choice.
Step 2
Apply patch to BIOS by following the link to the patching guide for the corresponding BIOS patch. (Due to legal reasons we can not distribute the BIOS files)
Step 3
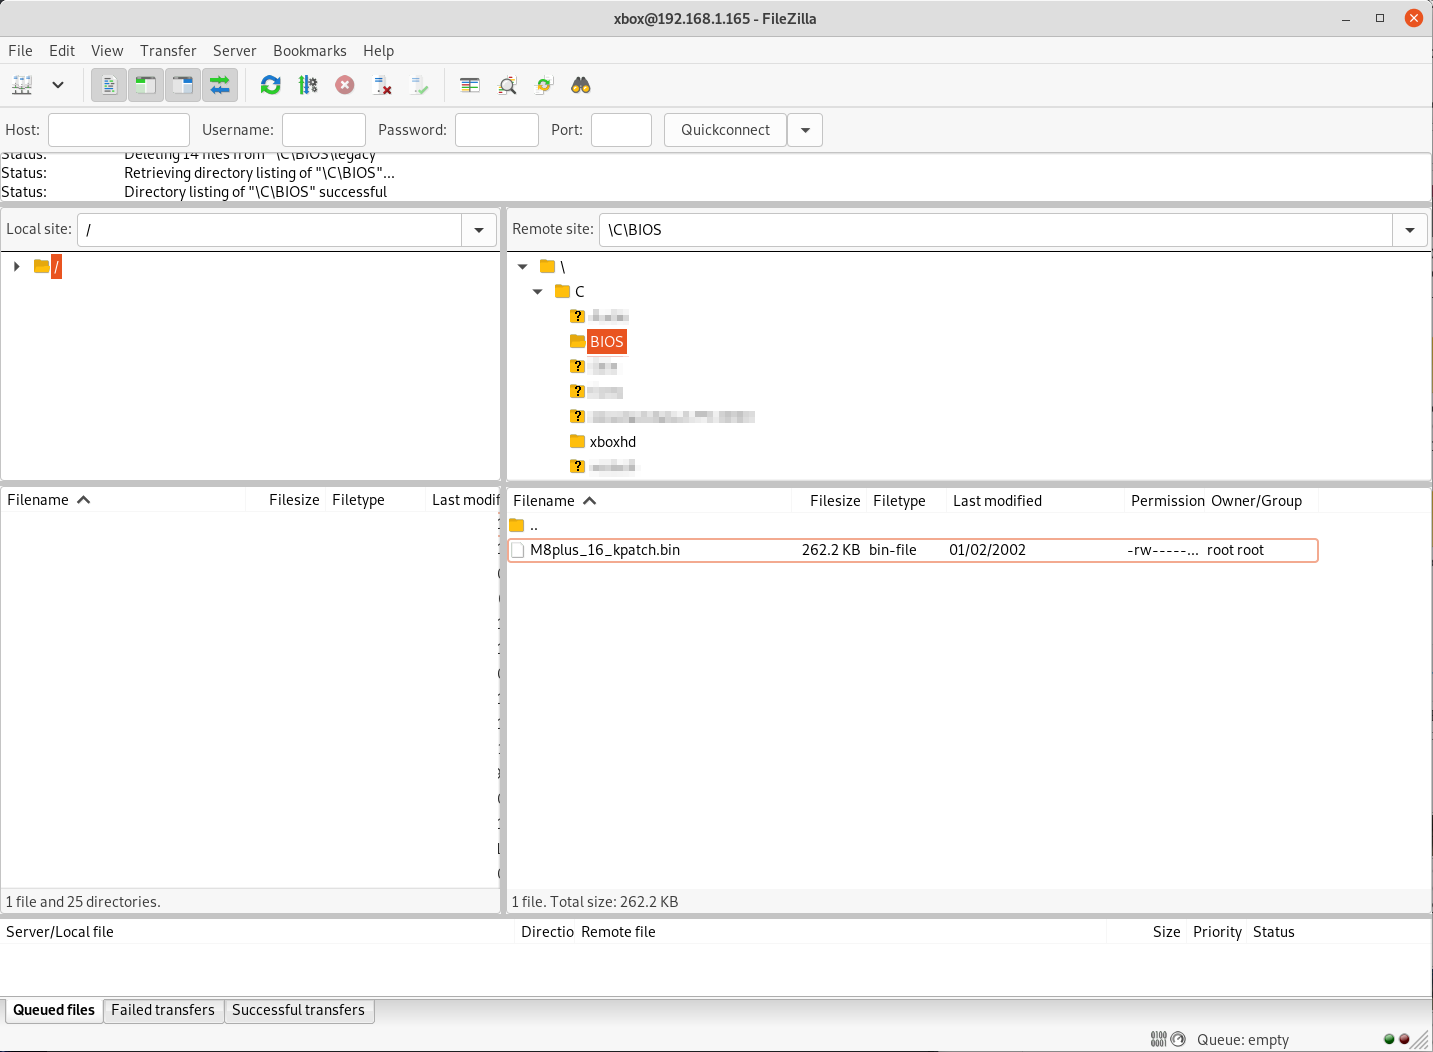
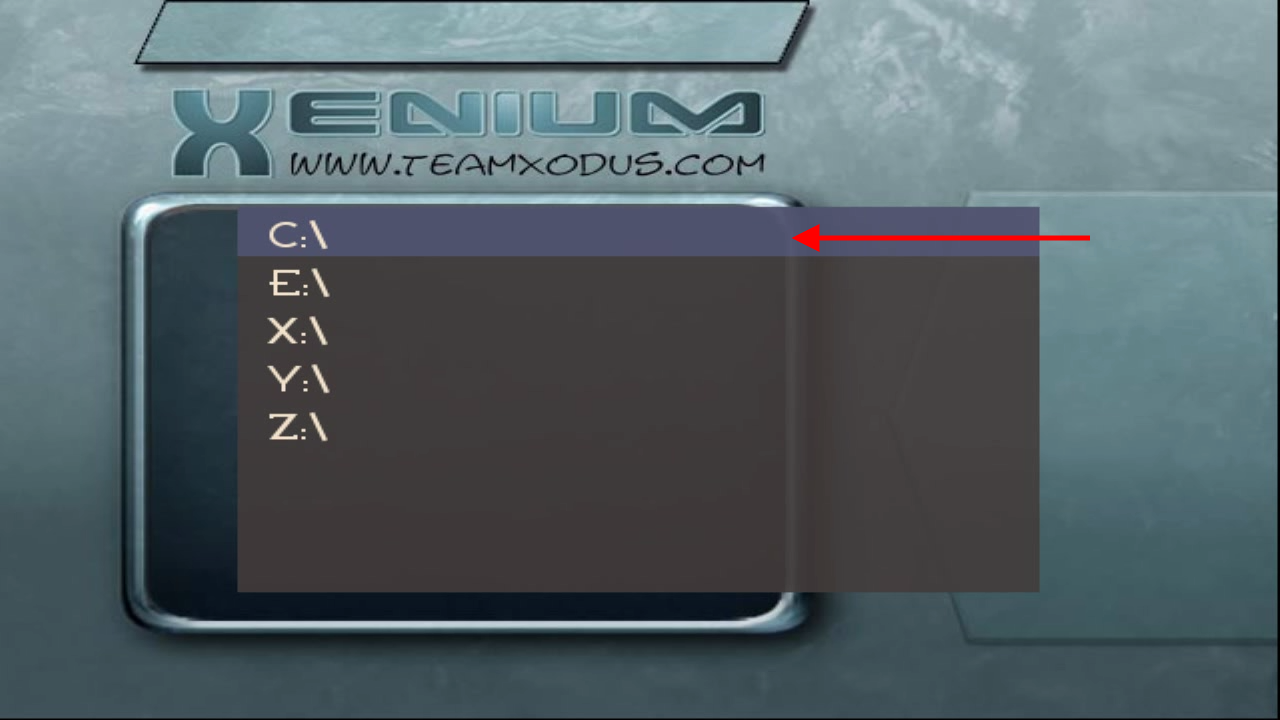
FTP the patched BIOS file over to Xbox. It's recommended to store the BIOS file inside of a folder on the C drive called 'BIOS' for future refrences.
Step 4
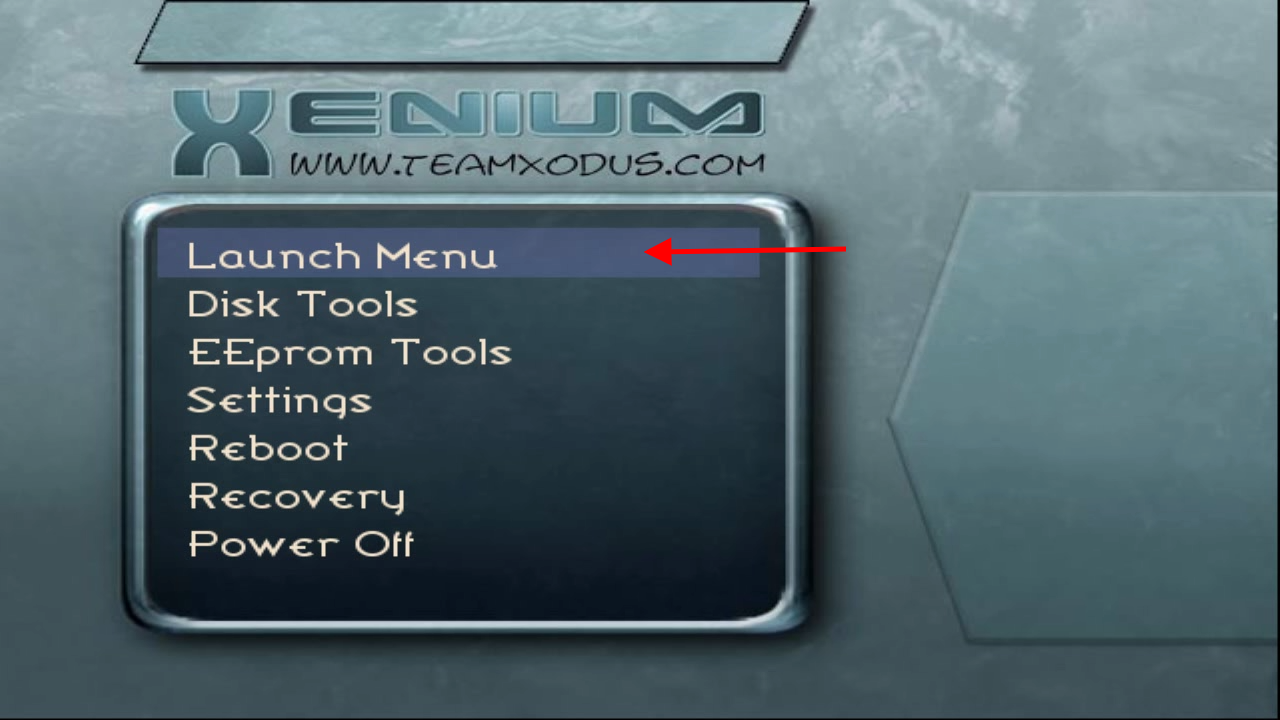
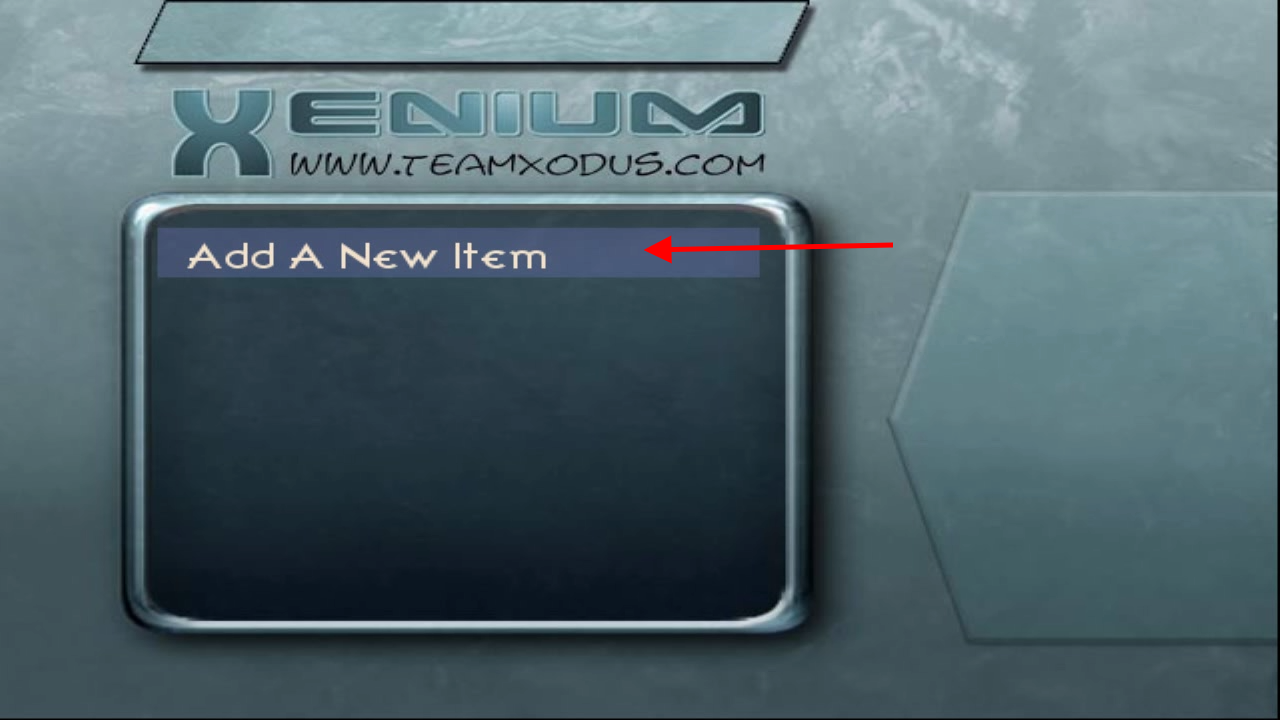
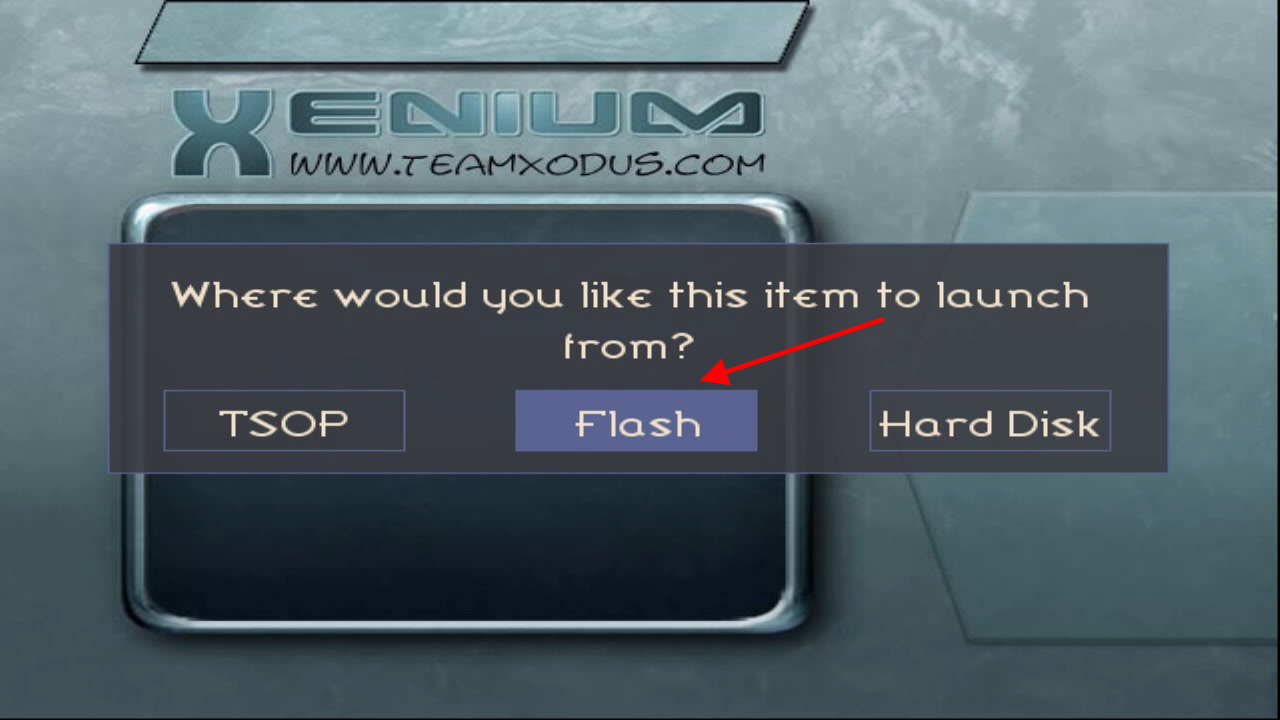
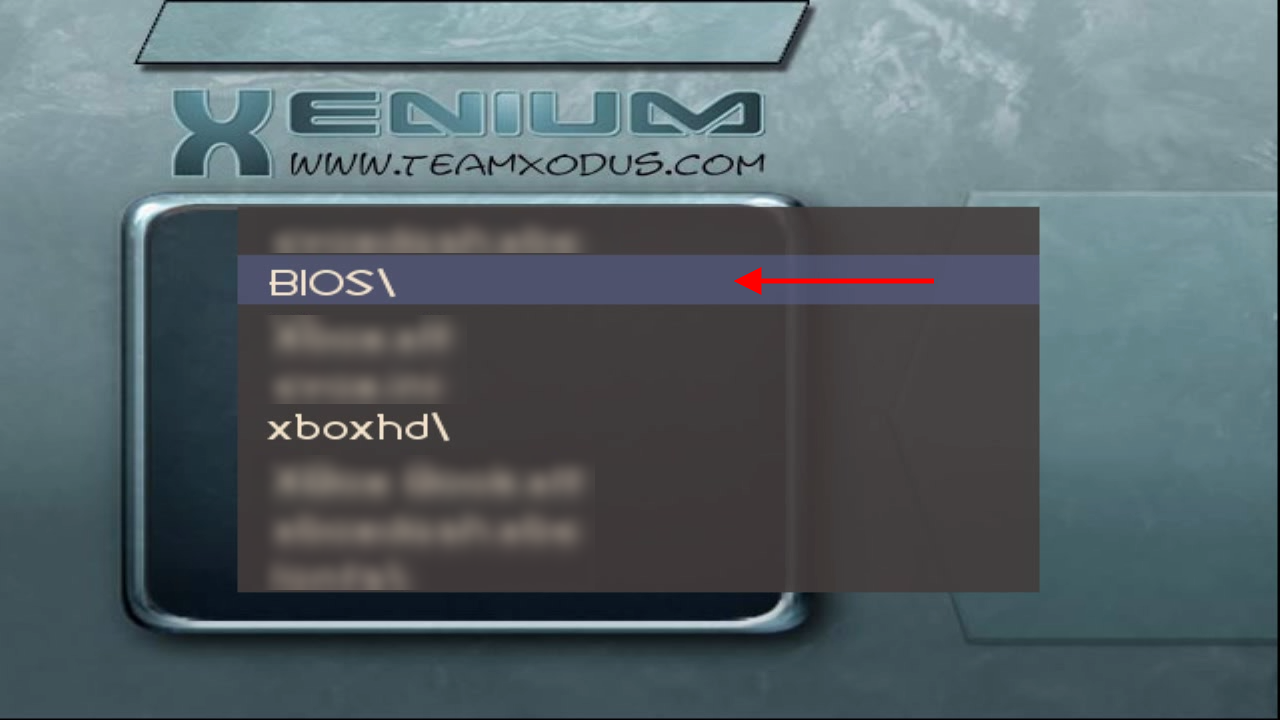
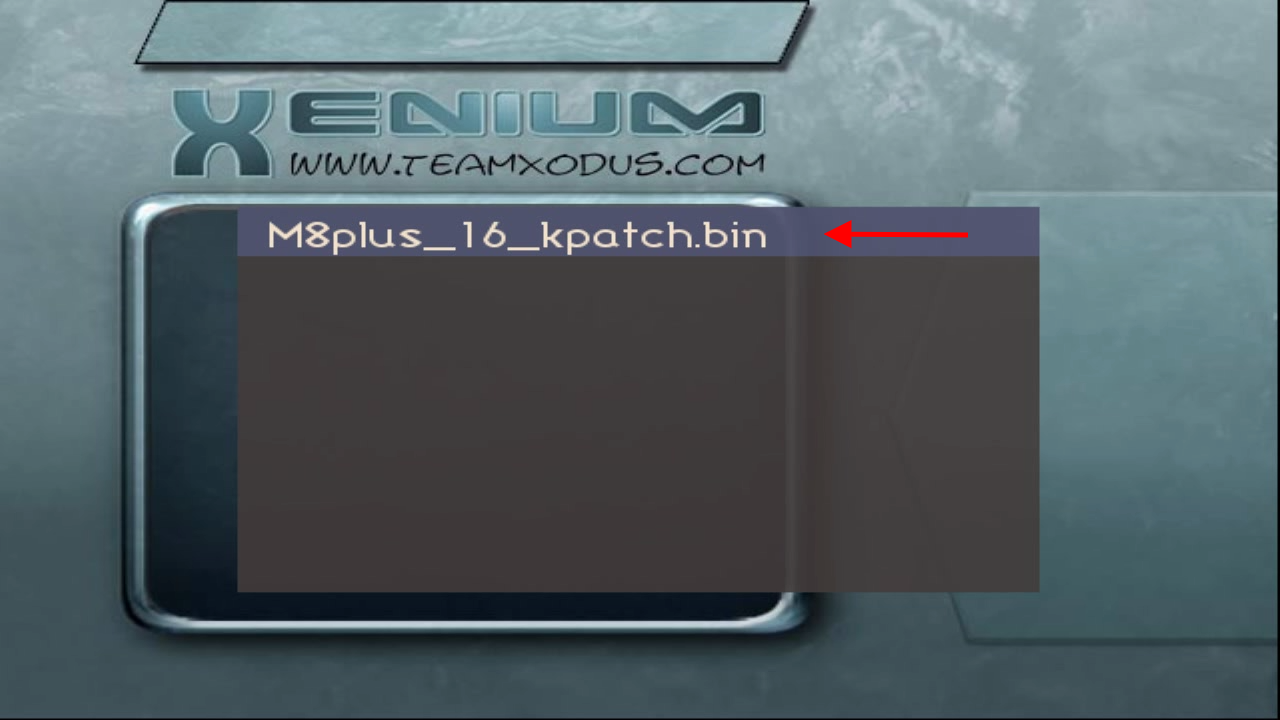
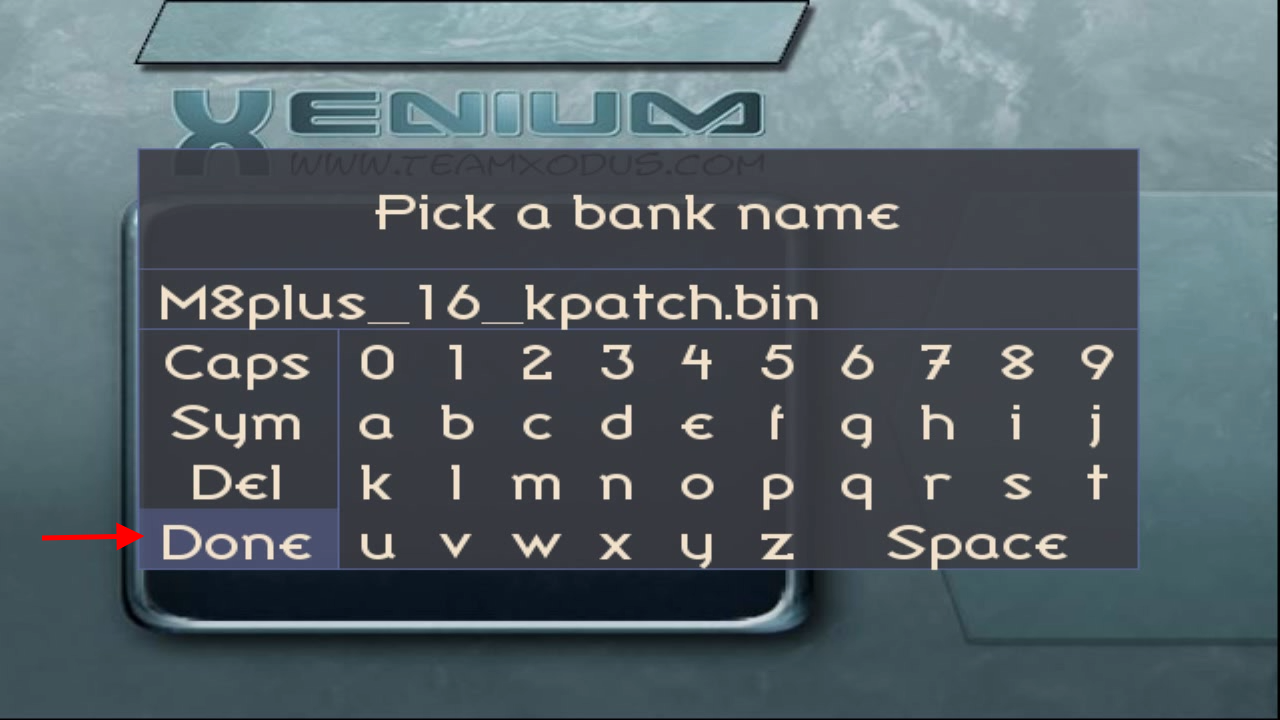
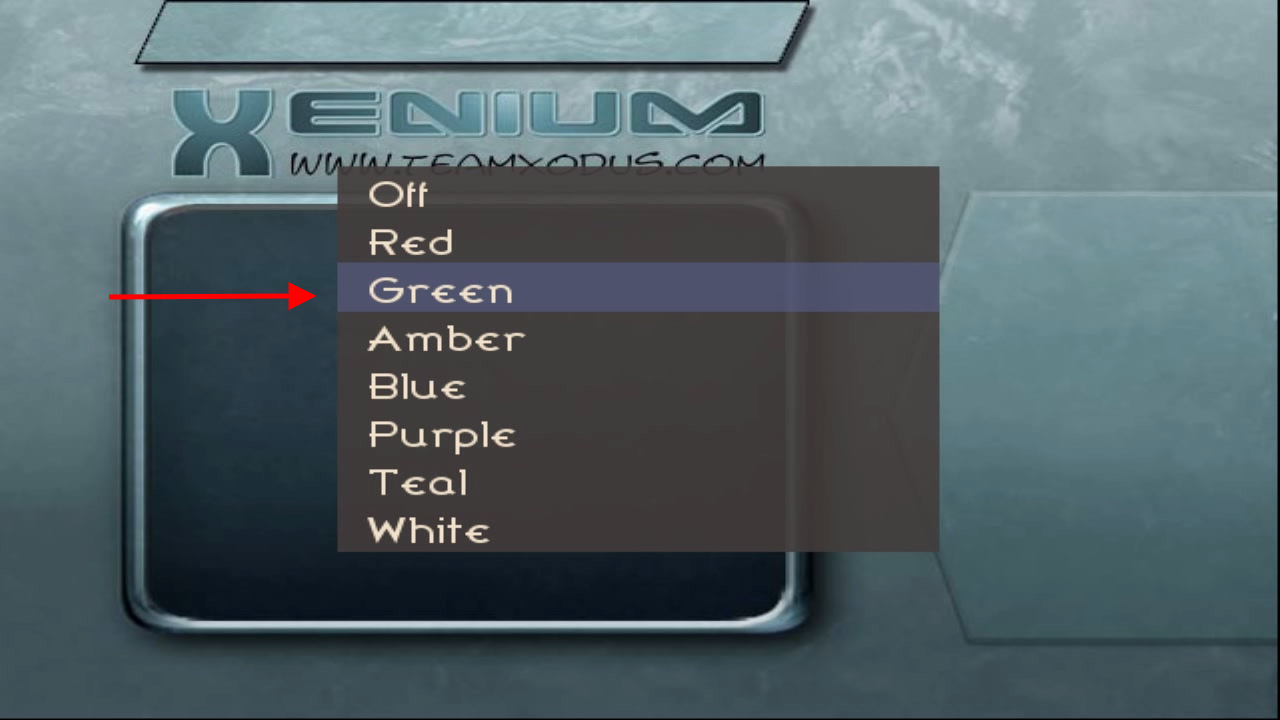
Flash BIOS.
Step 5
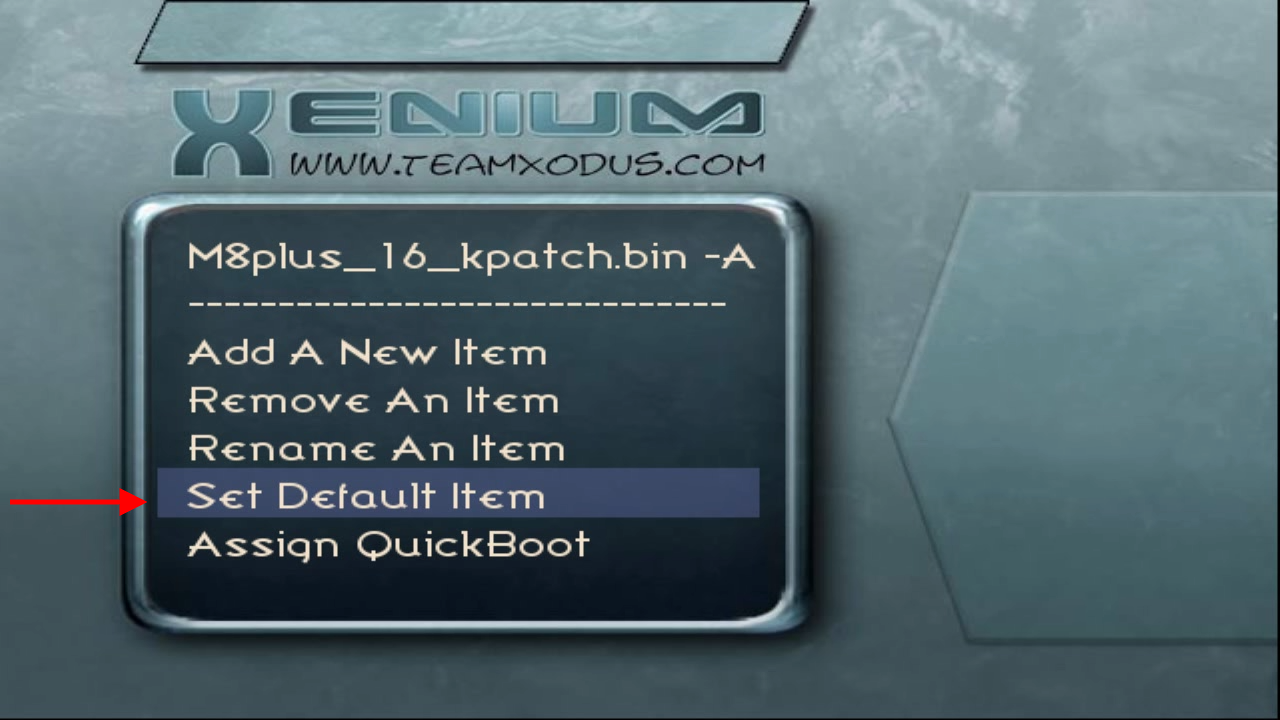
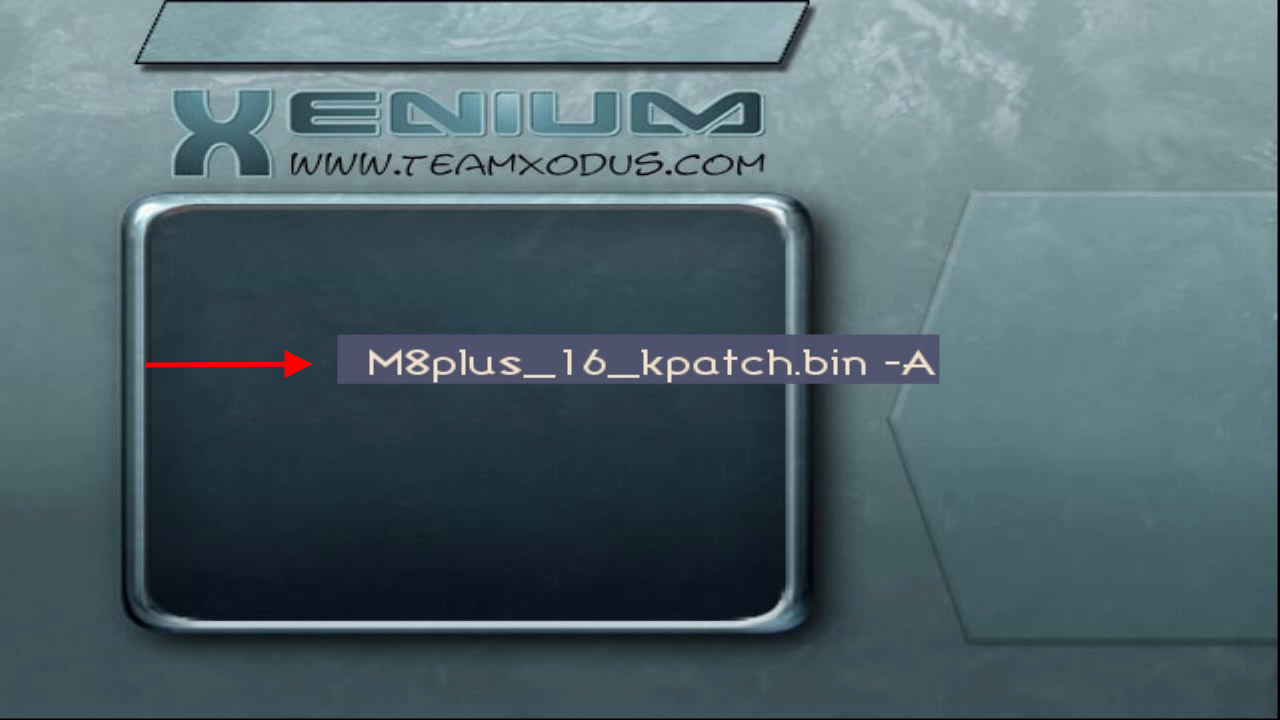
Set the newly flashed BIOS as the default BIOS.
Step 6
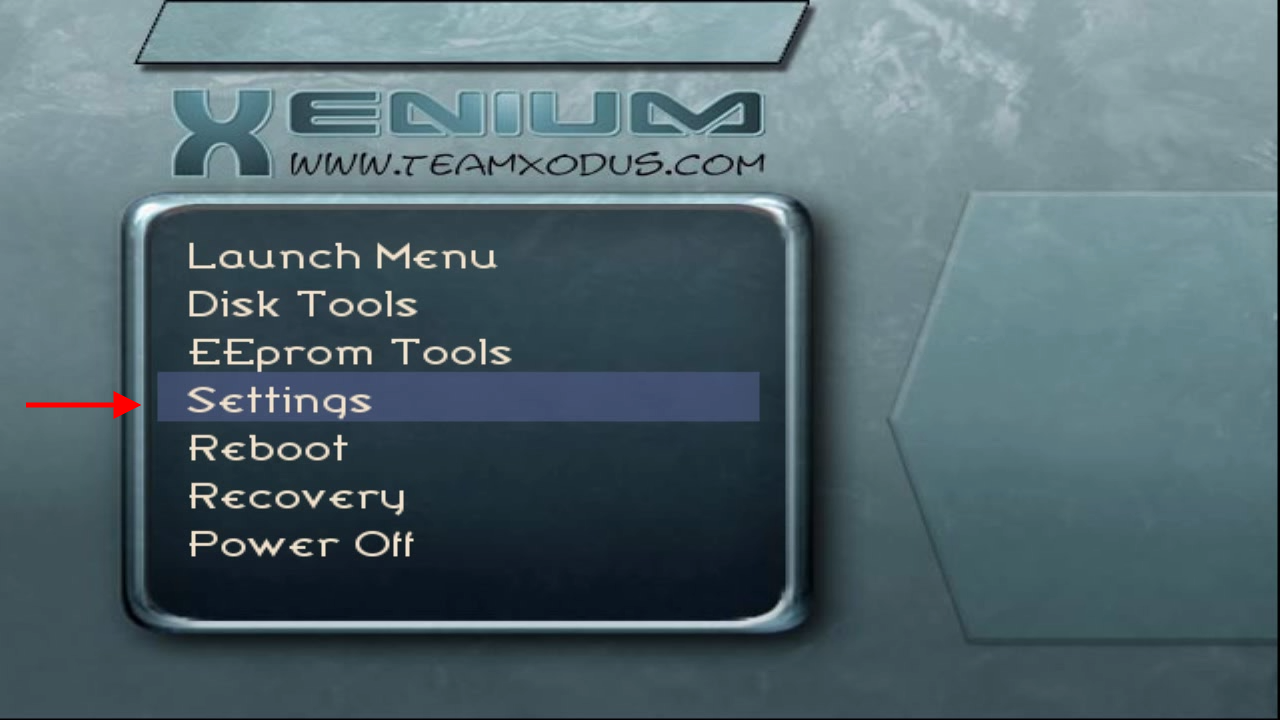
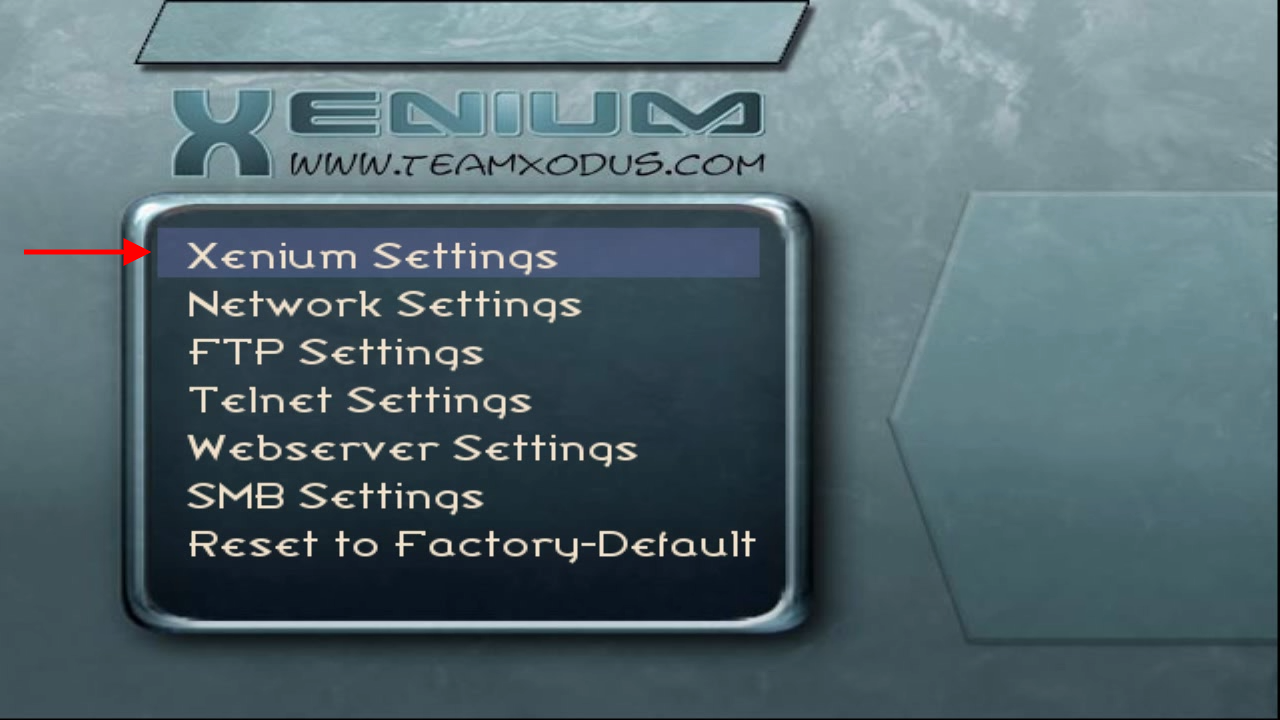
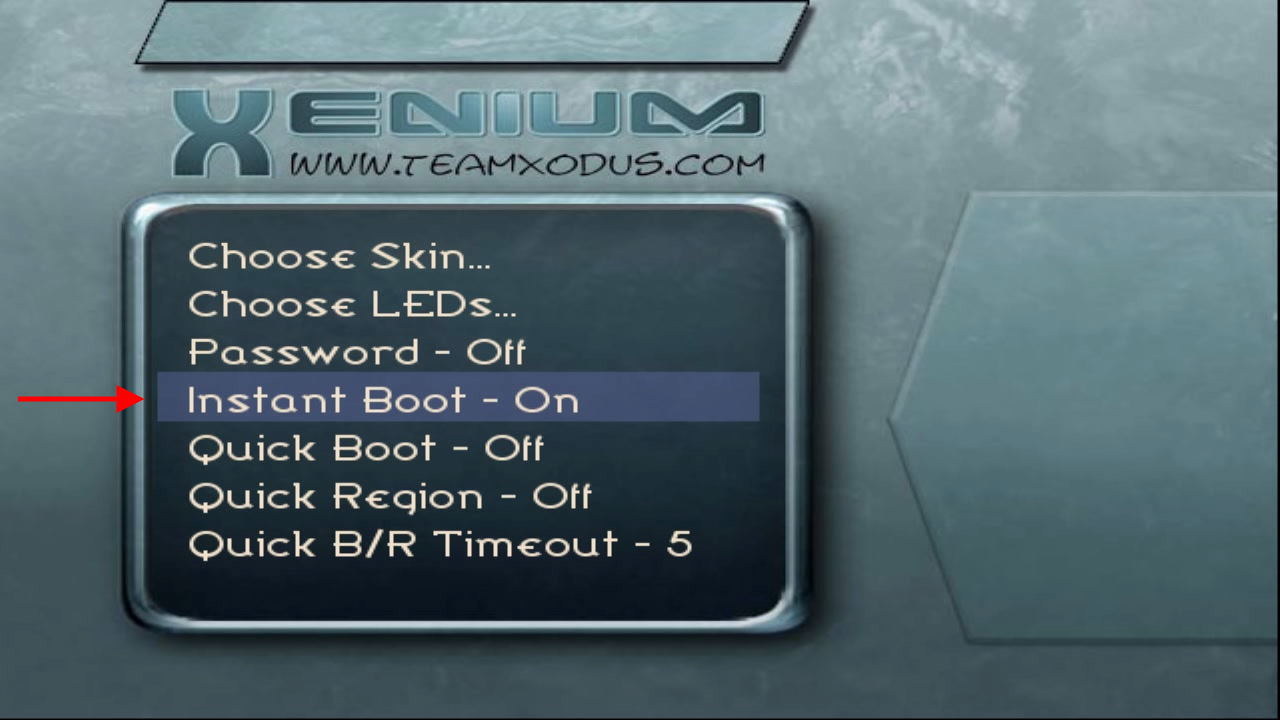
Ensure that 'Instant Boot' is enabled. This automatically boot the default BIOS on power up.
Verification
At this point you can reboot the Xbox. This will boot the patched BIOS.
Step 1
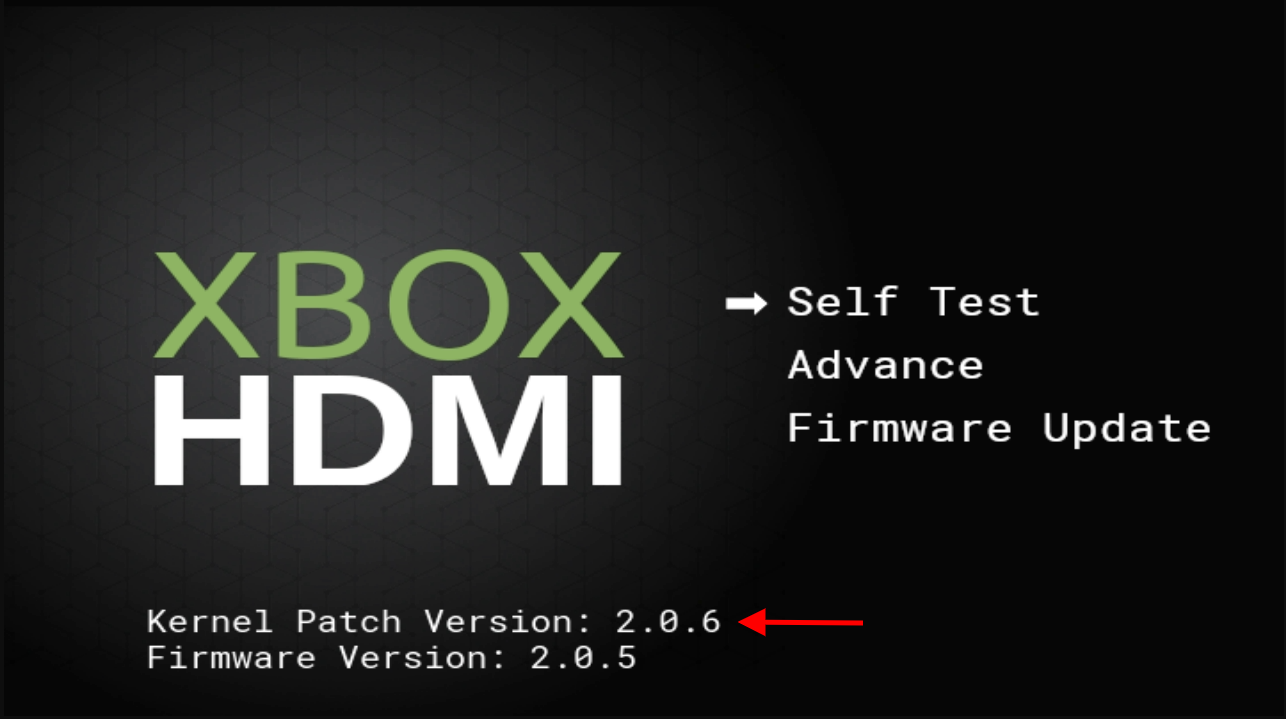
Launch the XboxHDMI app. If all went well you should now see the configuration app and text that says the kernel patch version.
All Done
And that's it! Installation of the XboxHDMI kit can now continue.